NVIDIA device plugin for Kubernetes原理分析
什么是 Device Plugin
K8s 原生并没有支持第三方设备厂商的物理设备资源,因此 Device Plugins 给第三方设备厂商提供了相关接口,可以让他们的物理设备资源以 Extended Resources 提供给底层的容器。
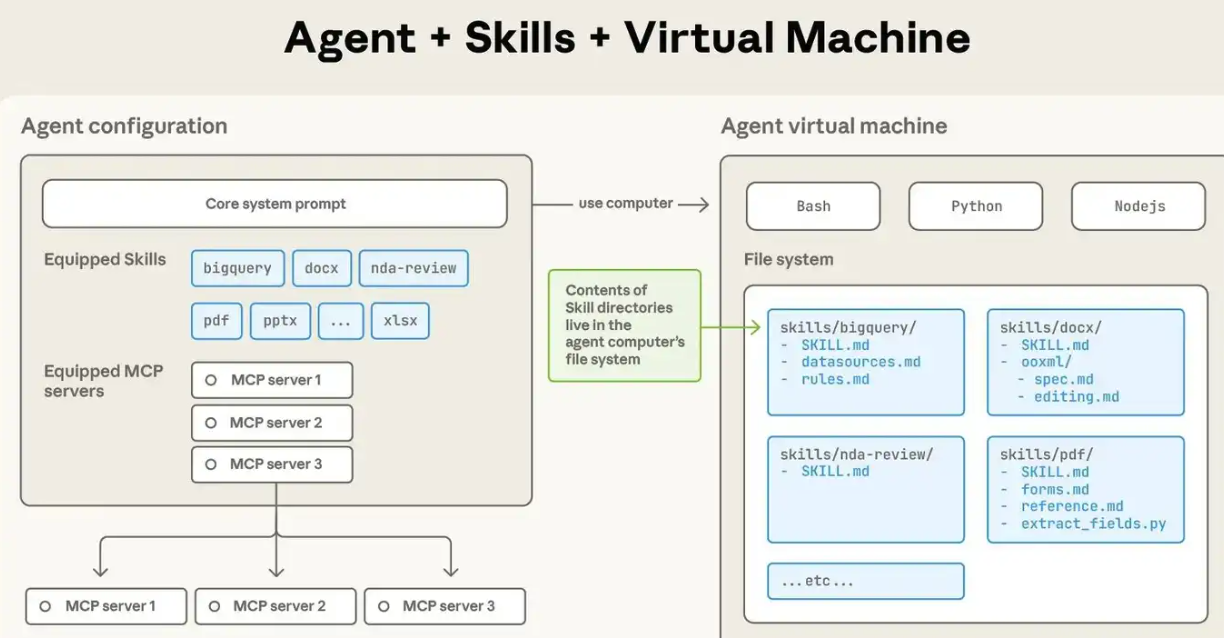
当 device plugin 功能启动后,可以令 kubelet 开放 Register 的 gRPC 服务,device plugin 就可以通过这个服务向 kubelet 进行注册,注册成功后 device plugin 就进入了 Serving 模式,提供前面提到的 gRPC 接口调用服务,kubelet 也就可以通过调用 Listandwatch、Allocate 等方法对设备进行操作,可以用下图来描述单一节点上这一过程:

下面以 NVIDIA k8s-device-plugin 为例简单讲讲这一过程。
注册服务
先看 gRPC 注册部分,下面的函数用于启动一个 gRPC 服务器并在 kubelet 中注册
1
2
3
4
5
6
7
8
9
10
11
12
13
14
15
16
17
18
19
20
21
22
23
24
25
26
27
28
29
30
31
32
| func (plugin *NvidiaDevicePlugin) Start() error {
plugin.initialize()
if err := plugin.waitForMPSDaemon(); err != nil {
return fmt.Errorf("error waiting for MPS daemon: %w", err)
}
err := plugin.Serve()
if err != nil {
klog.Infof("Could not start device plugin for '%s': %s", plugin.rm.Resource(), err)
plugin.cleanup()
return err
}
klog.Infof("Starting to serve '%s' on %s", plugin.rm.Resource(), plugin.socket)
err = plugin.Register()
if err != nil {
klog.Infof("Could not register device plugin: %s", err)
return errors.Join(err, plugin.Stop())
}
klog.Infof("Registered device plugin for '%s' with Kubelet", plugin.rm.Resource())
go func() {
err := plugin.rm.CheckHealth(plugin.stop, plugin.health)
if err != nil {
klog.Infof("Failed to start health check: %v; continuing with health checks disabled", err)
}
}()
return nil
}
|
其中 Register 就是将资源注册给本机的 kubelet,注册请求包括 版本号、socket 名称、资源名称(如 nvidia.com/gpu)以及一些额外参数。注册好以后,kubelet 就可以通过 gRPC 来调用现在启用的 RPC server 中的一些服务,具体 proto 定义如下
1
2
3
4
5
6
7
8
9
10
11
12
| service DevicePlugin {
rpc GetDevicePluginOptions(Empty) returns (DevicePluginOptions) {}
rpc ListAndWatch(Empty) returns (stream ListAndWatchResponse) {}
rpc GetPreferredAllocation(PreferredAllocationRequest) returns (PreferredAllocationResponse) {}
rpc Allocate(AllocateRequest) returns (AllocateResponse) {}
rpc PreStartContainer(PreStartContainerRequest) returns (PreStartContainerResponse) {}
}
|
下文是的一些重点 rpc。
ListAndWatch
1
2
3
4
5
6
7
8
9
10
11
12
13
14
15
16
17
18
| func (plugin *NvidiaDevicePlugin) ListAndWatch(e *pluginapi.Empty, s pluginapi.DevicePlugin_ListAndWatchServer) error {
if err := s.Send(&pluginapi.ListAndWatchResponse{Devices: plugin.apiDevices()}); err != nil {
return err
}
for {
select {
case <-plugin.stop:
return nil
case d := <-plugin.health:
d.Health = pluginapi.Unhealthy
klog.Infof("'%s' device marked unhealthy: %s", plugin.rm.Resource(), d.ID)
if err := s.Send(&pluginapi.ListAndWatchResponse{Devices: plugin.apiDevices()}); err != nil {
return nil
}
}
}
}
|
ListAndWatch 负责发送 GPU list 信息,同时在 GPU 健康状态发生变化时,再次发送进行更新。
Allocate
allocate 是 kubelet 在创建底层容器时会调用的操作,从而使创建的容器能够使用相应的资源,其代码如下,
1
2
3
4
5
6
7
8
9
10
11
12
13
14
15
16
17
18
19
20
21
22
23
24
25
26
27
28
29
30
31
32
33
34
35
36
37
38
39
40
41
42
43
44
45
46
47
48
49
50
51
52
53
54
55
56
57
58
59
60
61
62
63
64
65
66
67
68
69
70
71
72
| func (plugin *NvidiaDevicePlugin) Allocate(ctx context.Context, reqs *pluginapi.AllocateRequest) (*pluginapi.AllocateResponse, error) {
responses := pluginapi.AllocateResponse{}
for _, req := range reqs.ContainerRequests {
if err := plugin.rm.ValidateRequest(req.DevicesIDs); err != nil {
return nil, fmt.Errorf("invalid allocation request for %q: %w", plugin.rm.Resource(), err)
}
response, err := plugin.getAllocateResponse(req.DevicesIDs)
if err != nil {
return nil, fmt.Errorf("failed to get allocate response: %v", err)
}
responses.ContainerResponses = append(responses.ContainerResponses, response)
}
return &responses, nil
}
func (plugin *NvidiaDevicePlugin) getAllocateResponse(requestIds []string) (*pluginapi.ContainerAllocateResponse, error) {
deviceIDs := plugin.deviceIDsFromAnnotatedDeviceIDs(requestIds)
response := &pluginapi.ContainerAllocateResponse{
Envs: make(map[string]string),
}
if plugin.deviceListStrategies.IsCDIEnabled() {
responseID := uuid.New().String()
if err := plugin.updateResponseForCDI(response, responseID, deviceIDs...); err != nil {
return nil, fmt.Errorf("failed to get allocate response for CDI: %v", err)
}
}
if plugin.deviceListStrategies.Includes(spec.DeviceListStrategyEnvvar) {
plugin.updateResponseForDeviceListEnvvar(response, deviceIDs...)
}
if plugin.deviceListStrategies.Includes(spec.DeviceListStrategyVolumeMounts) {
plugin.updateResponseForDeviceMounts(response, deviceIDs...)
}
if plugin.config.Sharing.SharingStrategy() == spec.SharingStrategyMPS {
plugin.updateResponseForMPS(response)
}
if *plugin.config.Flags.Plugin.PassDeviceSpecs {
response.Devices = append(response.Devices, plugin.apiDeviceSpecs(*plugin.config.Flags.NvidiaDriverRoot, requestIds)...)
}
if *plugin.config.Flags.GDSEnabled {
response.Envs["NVIDIA_GDS"] = "enabled"
}
if *plugin.config.Flags.MOFEDEnabled {
response.Envs["NVIDIA_MOFED"] = "enabled"
}
return response, nil
}
|
可以看出,其核心部分就是将请求中的 DeviceID 封装到 Envs:NVIDIA_VISIBLE_DEVICES ,其实就是改环境变量 NVIDIA_VISIBLE_DEVICES,之后结合GPU 容器底层实现即可创建对应的容器。
总体流程
具体来讲,含 GPU 需求的 pod 在包含 GPU 设备的 K8s 集群上的生命周期如下:
- 各 Node 上的 kubelet 和各设备的 device plugin 交互完成注册,并通过
ListAndWatch 方法获得可用设备的资源信息,并将资源信息同步至集群 apiserver 中;
- 含 GPU 需求的 pod 创建后,会根据在 apiserver 中的信息选取合适的节点进行调度至某个节点;
- 节点上的 kubelet 获取 pod 信息后,会先根据 kubelet 本身的缓存选取节点上符合 pod 需求的具体设备,再根据设备 id 向 device plugin 发送
Allocate 调用,获得相应的信息并进行存储,kubelet 中有一个专门存储 pod 与设备信息的 map podDevices(在 ManagerImpl 中);
- Kubelet 在创建 pod 的容器时,就会根据这些信息创建出能够使用所需设备的容器。
Allocate 中的相关参数如下所示:
1
2
3
4
5
6
7
8
9
10
11
12
13
14
15
16
17
18
19
| message AllocateResponse {
repeated ContainerAllocateResponse container_responses = 1;
}
message ContainerAllocateResponse {
map<string, string> envs = 1;
repeated Mount mounts = 2;
repeated DeviceSpec devices = 3;
map<string, string> annotations = 4;
repeated CDIDevice cdi_devices = 5 [(gogoproto.customname) = "CDIDevices"];
}
message AllocateRequest {
repeated ContainerAllocateRequest container_requests = 1;
}
message ContainerAllocateRequest {
repeated string devices_ids = 1 [(gogoproto.customname) = "DevicesIDs"];
}
|
这些设备参数主要用于帮助容器启动时能够使用这些设备。
当 kubelet 要创建 pod 的容器时,就会从中读取这些参数来进行参数指定,最终能够使用这些设备。


